Why organize a bathroom cabinet?
A neat bathroom cabinet saves time and reduces waste. You find what you need quickly. You avoid expired products. Small, consistent changes bring big daily benefits.
In our experience, common mistakes include keeping duplicates, ignoring expiration dates, and fitting items without a plan. This guide shows clear steps, practical layouts, and shopping suggestions to help you organize any bathroom cabinet.
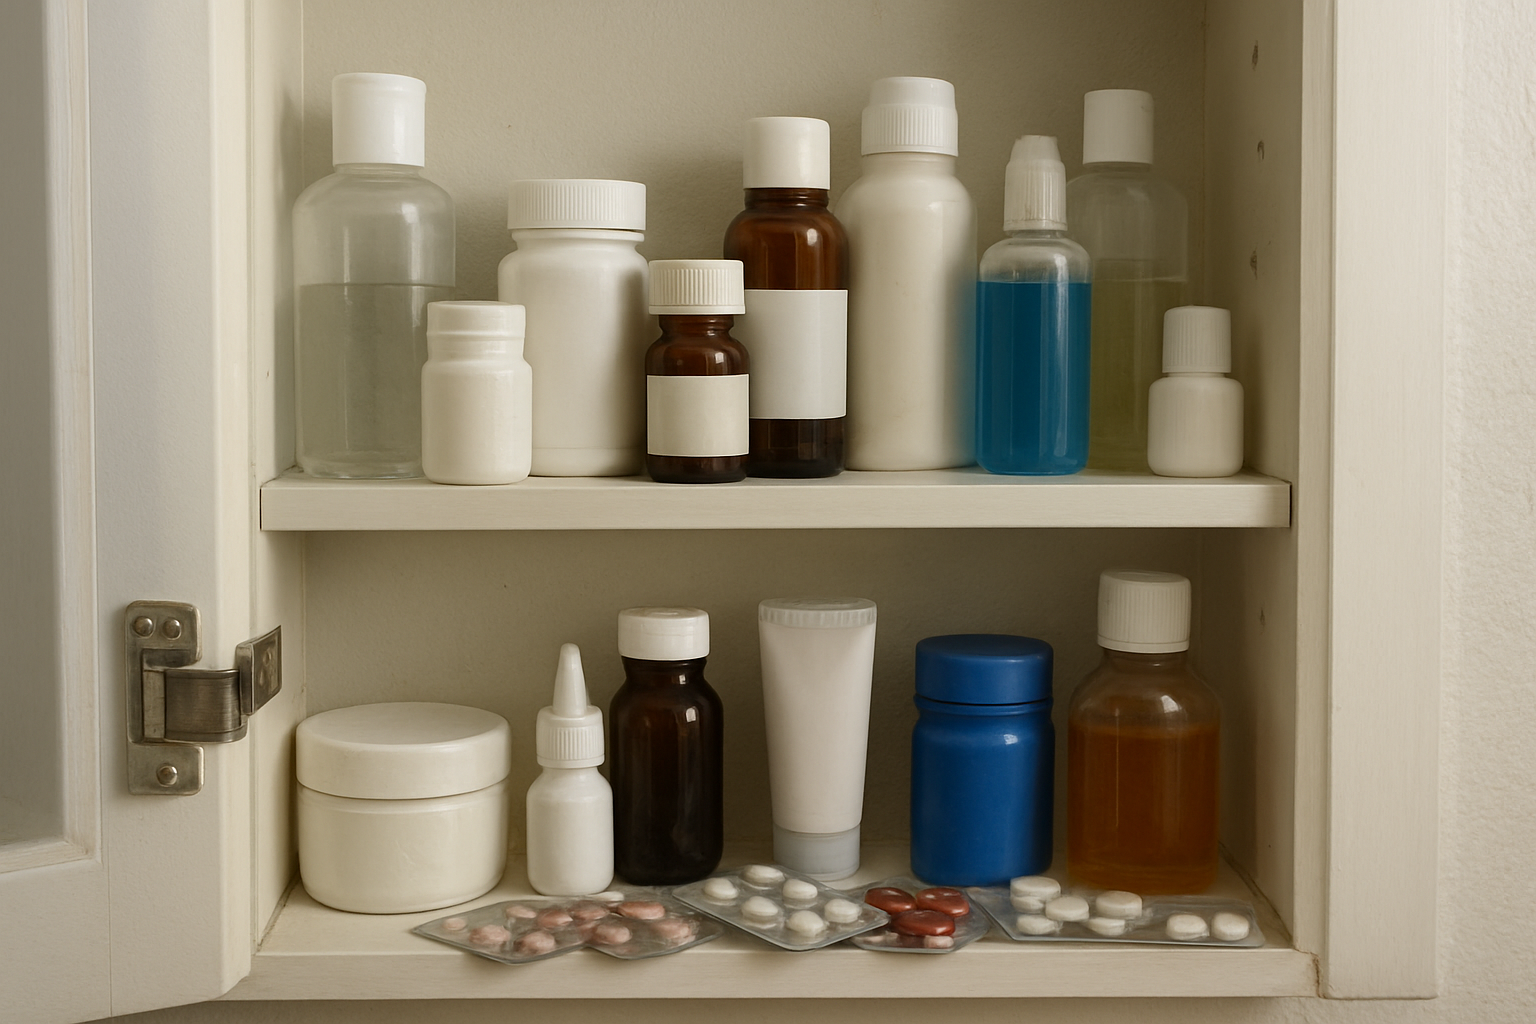
Quick overview: what you will learn
- How to assess cabinet space and needs
- A step-by-step organizing process
- Best containers and dimensions for common items
- Ideas for small and deep cabinets
- A maintenance schedule and common mistakes to avoid
Step 1 — Empty and inspect
Start by removing everything. Lay items on a towel or counter. Sort by type: daily use, weekly, occasional, expired, empty.
Checklist while emptying:
- Check expiration dates
- Note broken packaging or leaks
- Group similar items together
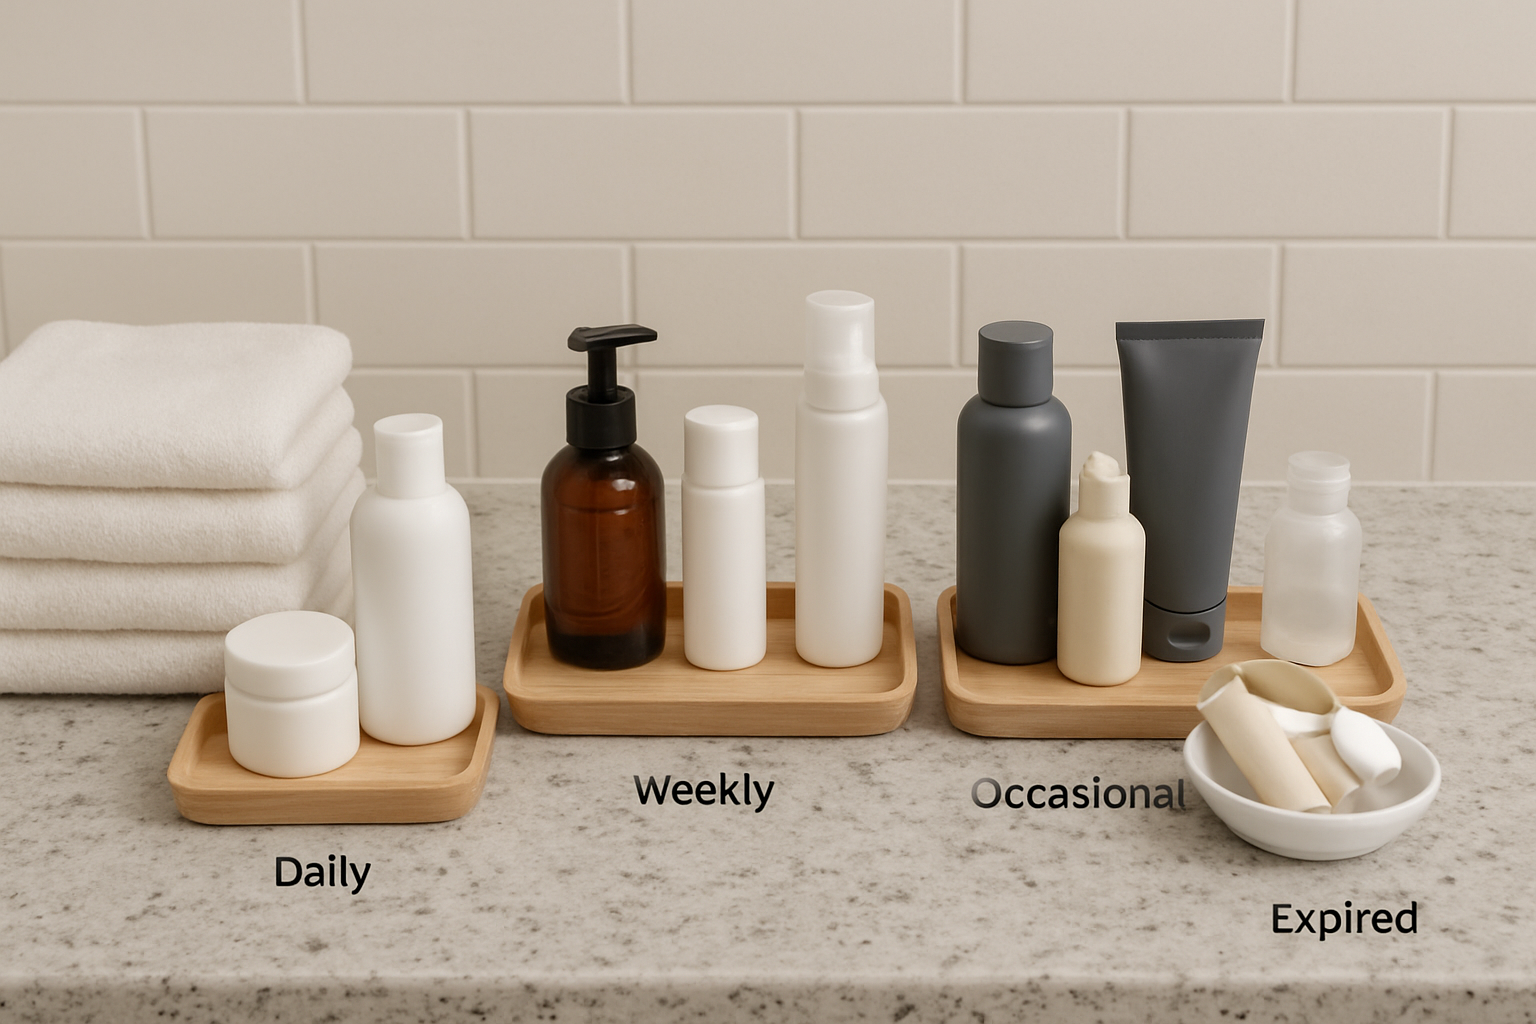
Step 2 — Declutter with simple rules
Use these rules to decide what stays:
- Toss items past their expiration date
- Keep only one backup for daily essentials
- Recycle or donate items you never use
- Discard single-use samples and nearly empty tubes
A common mistake is keeping things “just in case.” That strategy fills space fast.
Step 3 — Plan zones inside the cabinet
Assign zones based on how often you use items:
- Eye-level: daily essentials like toothbrushes, face wash
- Lower shelves: spare toiletries, bulk items
- Door or small shelves: first-aid items, small tools
- Top shelf: seldom-used items, spare towels
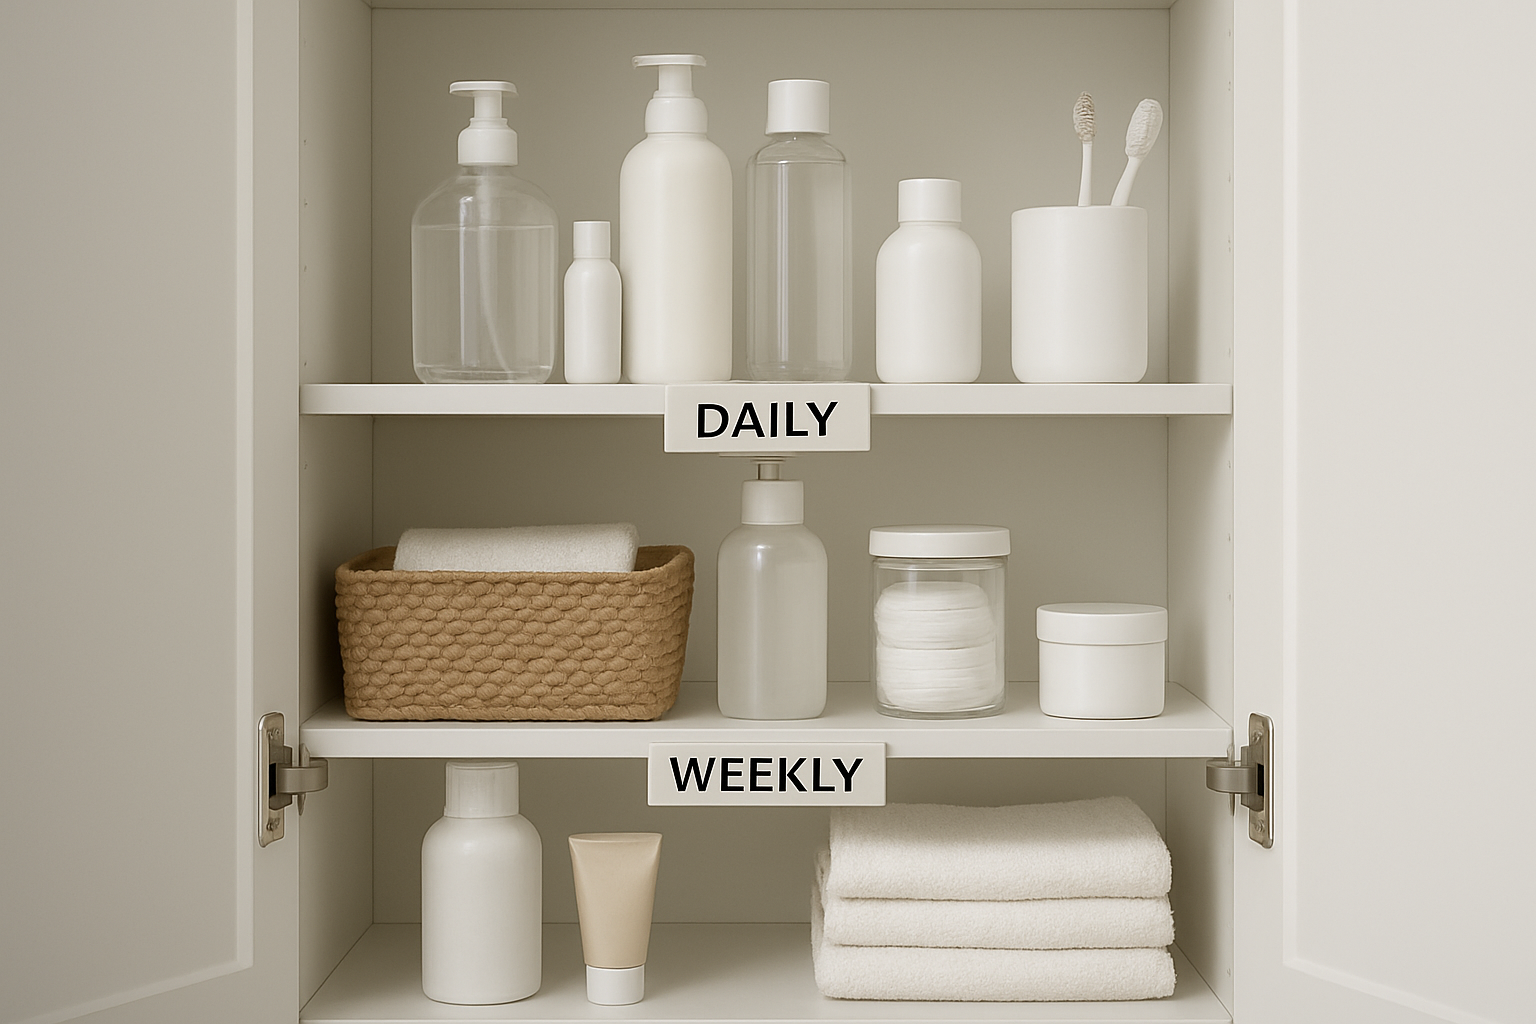
Choosing containers: a practical table
Below is a quick guide to containers and suggested dimensions for common items.
| Item category | Container type | Suggested interior size (W x D x H) |
|---|---|---|
| Toothpaste, toothbrush, floss | Small divided tray or cup | 6 x 4 x 4 inches |
| Skincare products (jars, pumps) | Low tray or shelf riser | 12 x 6 x 3 inches |
| Hair tools (brushes, straightener) | Tall vertical bin | 6 x 4 x 10 inches |
| Medications and first aid | Lockable small box or clear bin | 8 x 6 x 4 inches |
| Makeup | Clear drawer inserts | 10 x 8 x 2 inches |
| Bulk toilet paper, towels | Stackable basket | Variable, allow 2 inches clearance |
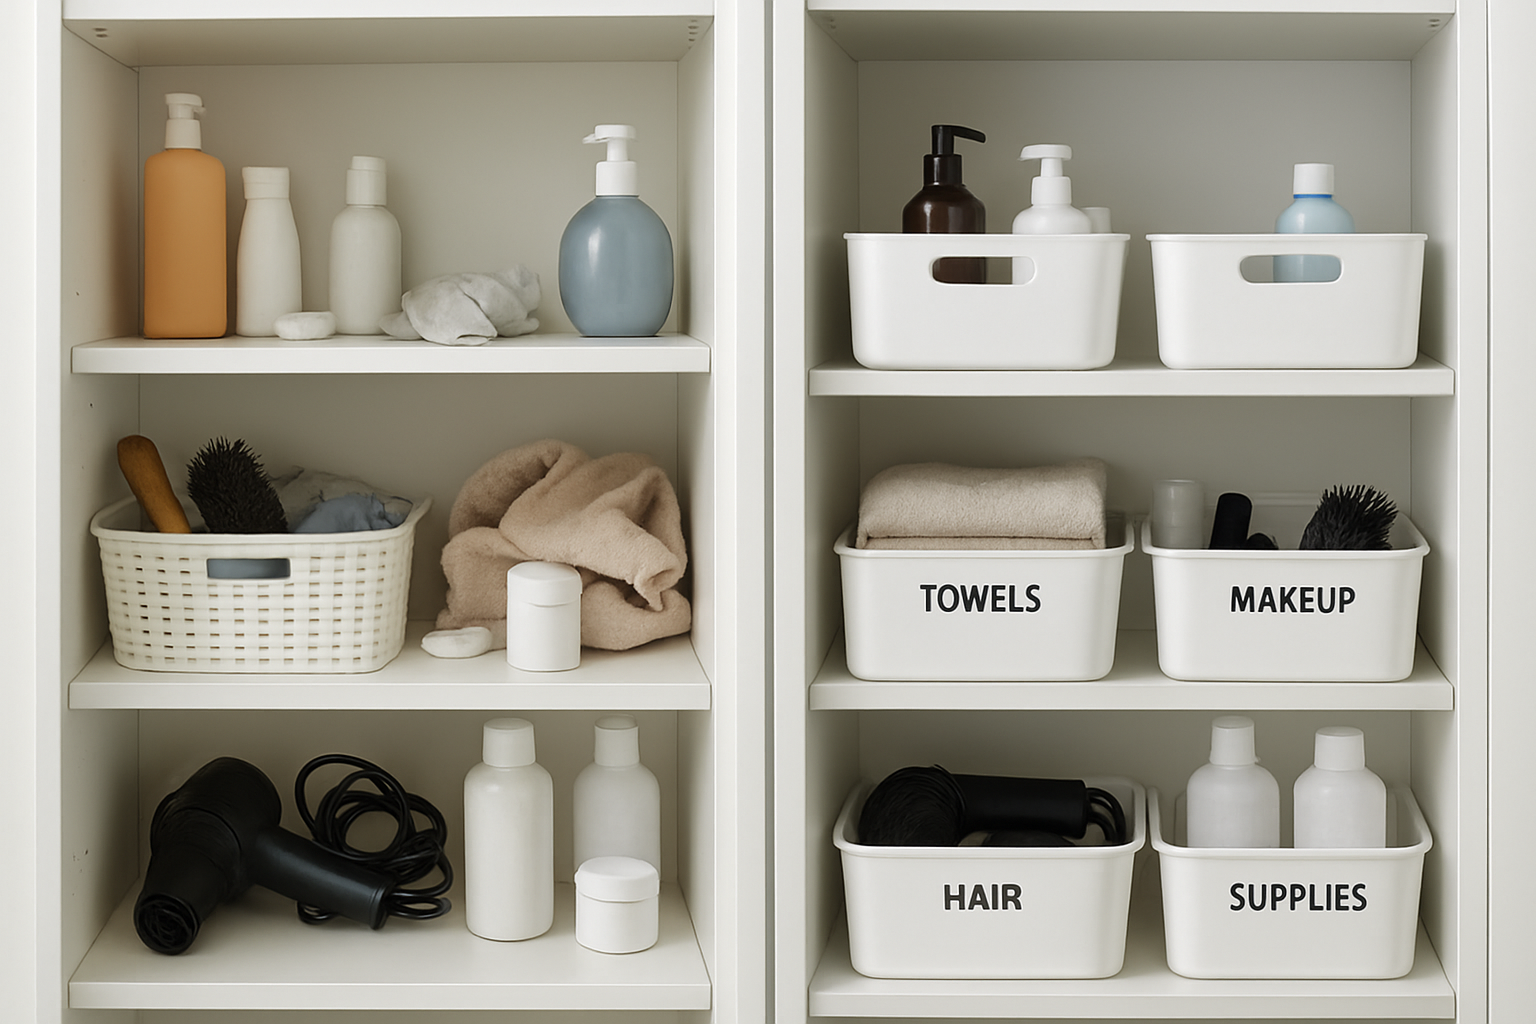
Use clear or labeled containers. Clear bins let you find items without opening them.
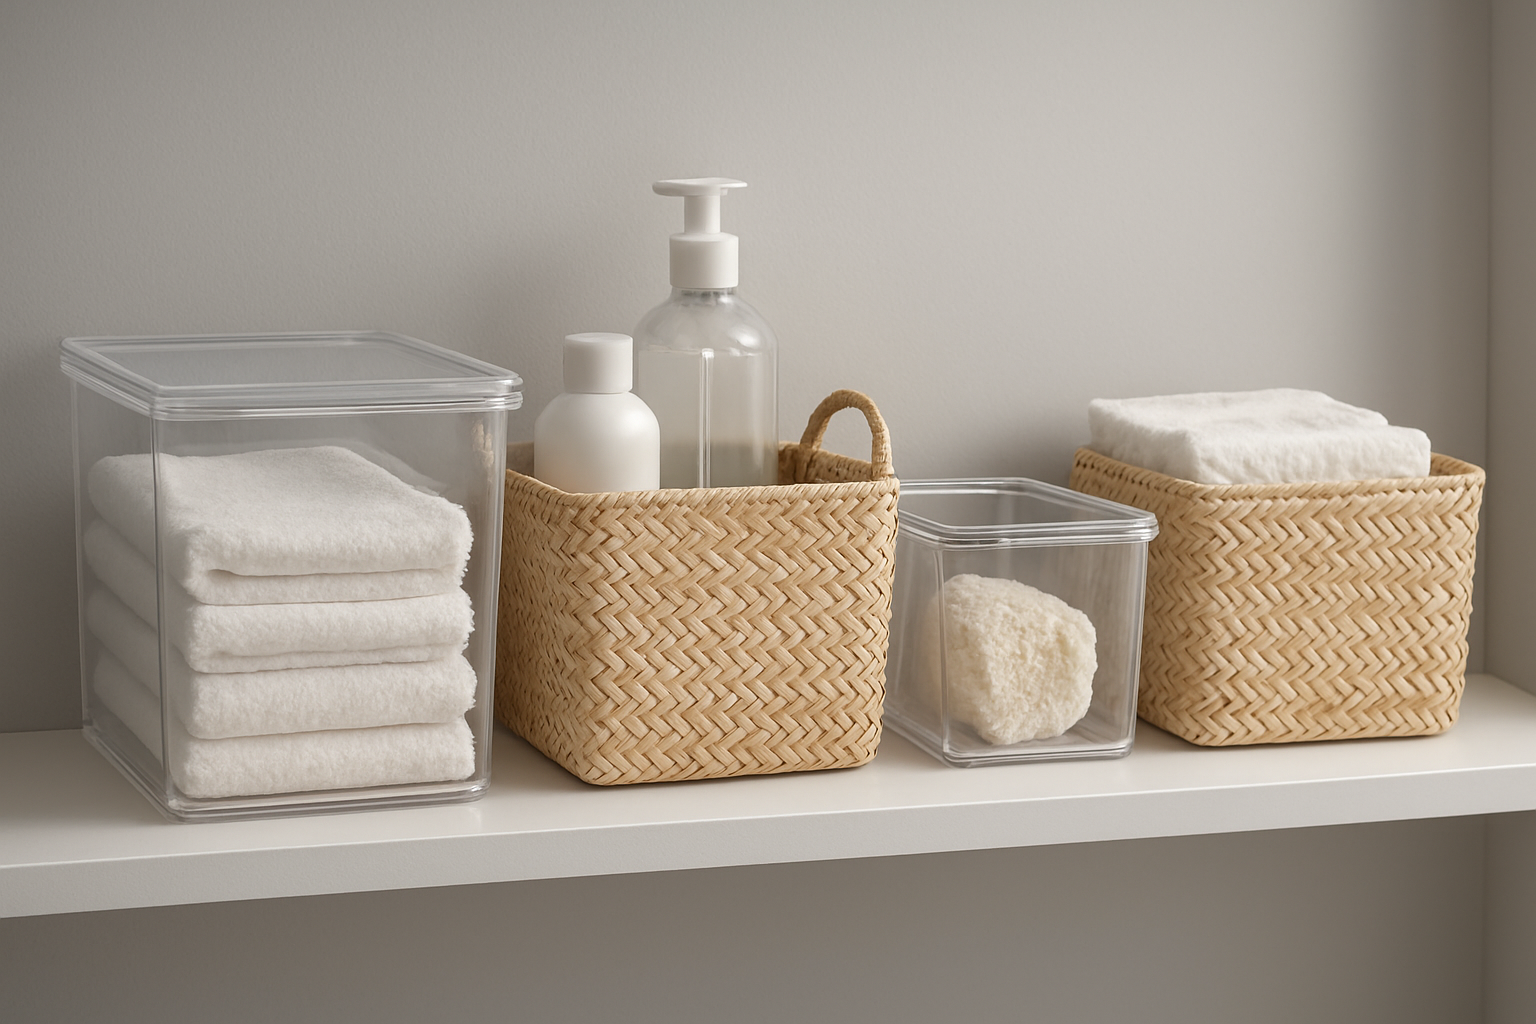
Materials comparison: pick what fits your bathroom
| Material | Pros | Cons | Best use |
|---|---|---|---|
| Clear acrylic | Visible contents, modern look | Can scratch, shows dust | Makeup, small items |
| Plastic bins | Lightweight, cheap | Can look utilitarian | Kids’ products, hair accessories |
| Bamboo or wood | Warm look, sturdy | Sensitive to moisture | Towels, decorative storage |
| Wire baskets | Airy, inexpensive | Small items fall through | Towels, packaged goods |
On humid bathroom walls, avoid untreated wood inside the cabinet unless it has a moisture seal.
How to arrange items for efficiency
Follow the flow of use. Place sunrise routine items near the cabinet edge if you grab them first thing. Nighttime products can sit slightly deeper.
Tips:
- Put the heaviest items on lower shelves
- Store fragile or glass containers where they cannot tip
- Keep medication in a dry, cool spot away from steam
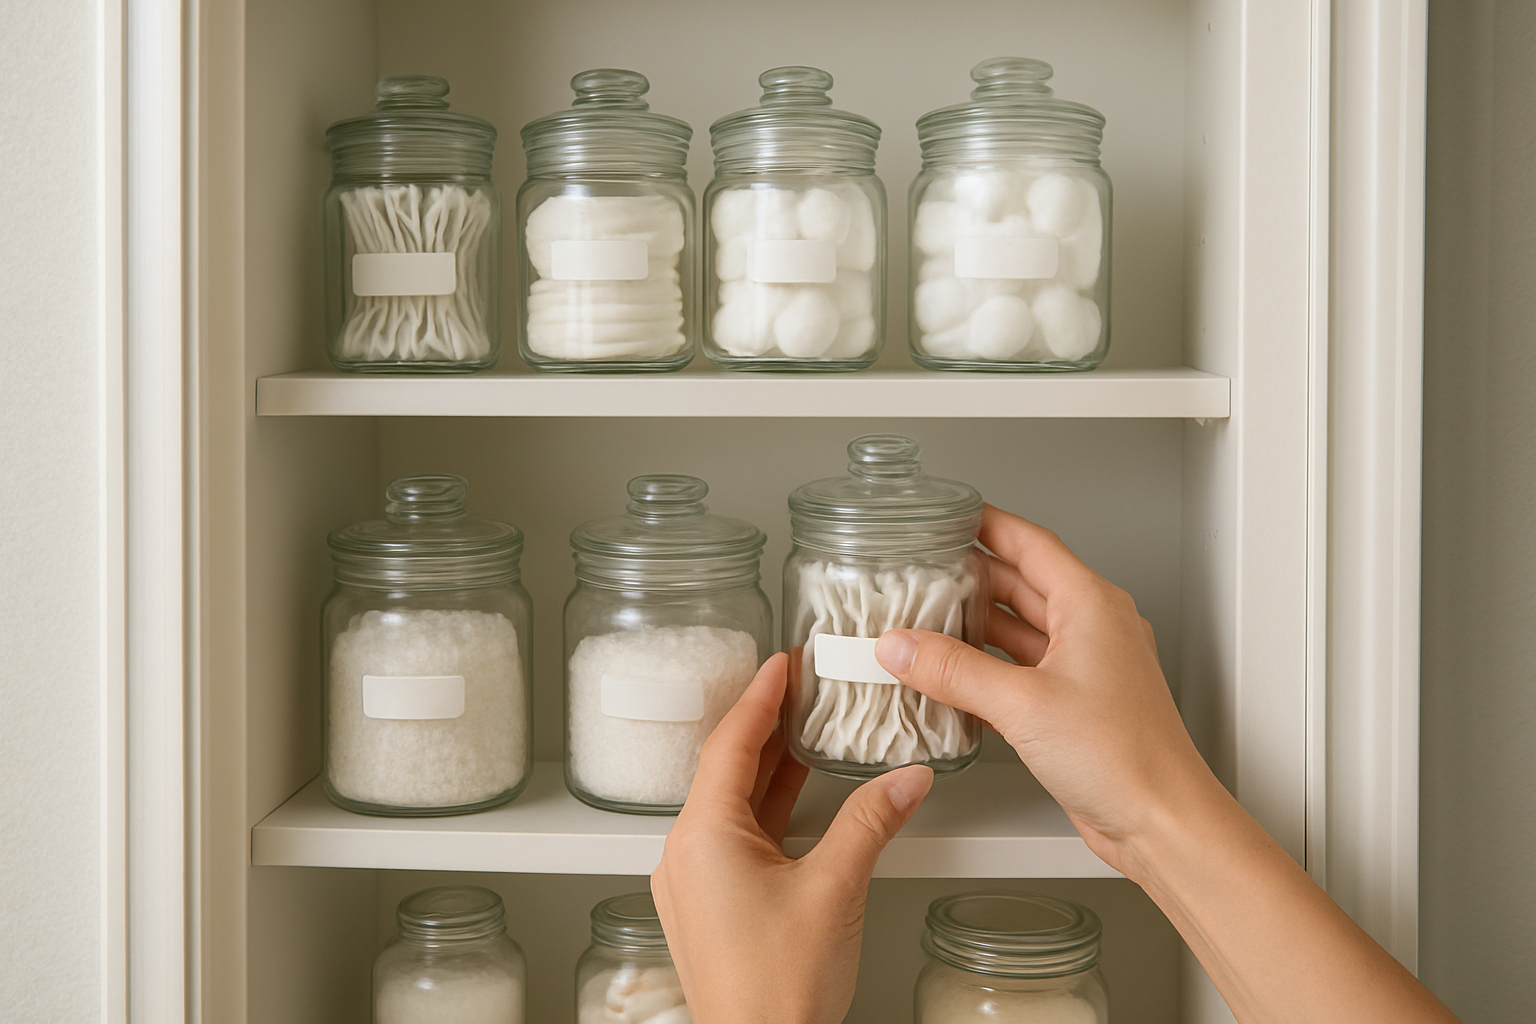
Organizing small cabinets and narrow spaces
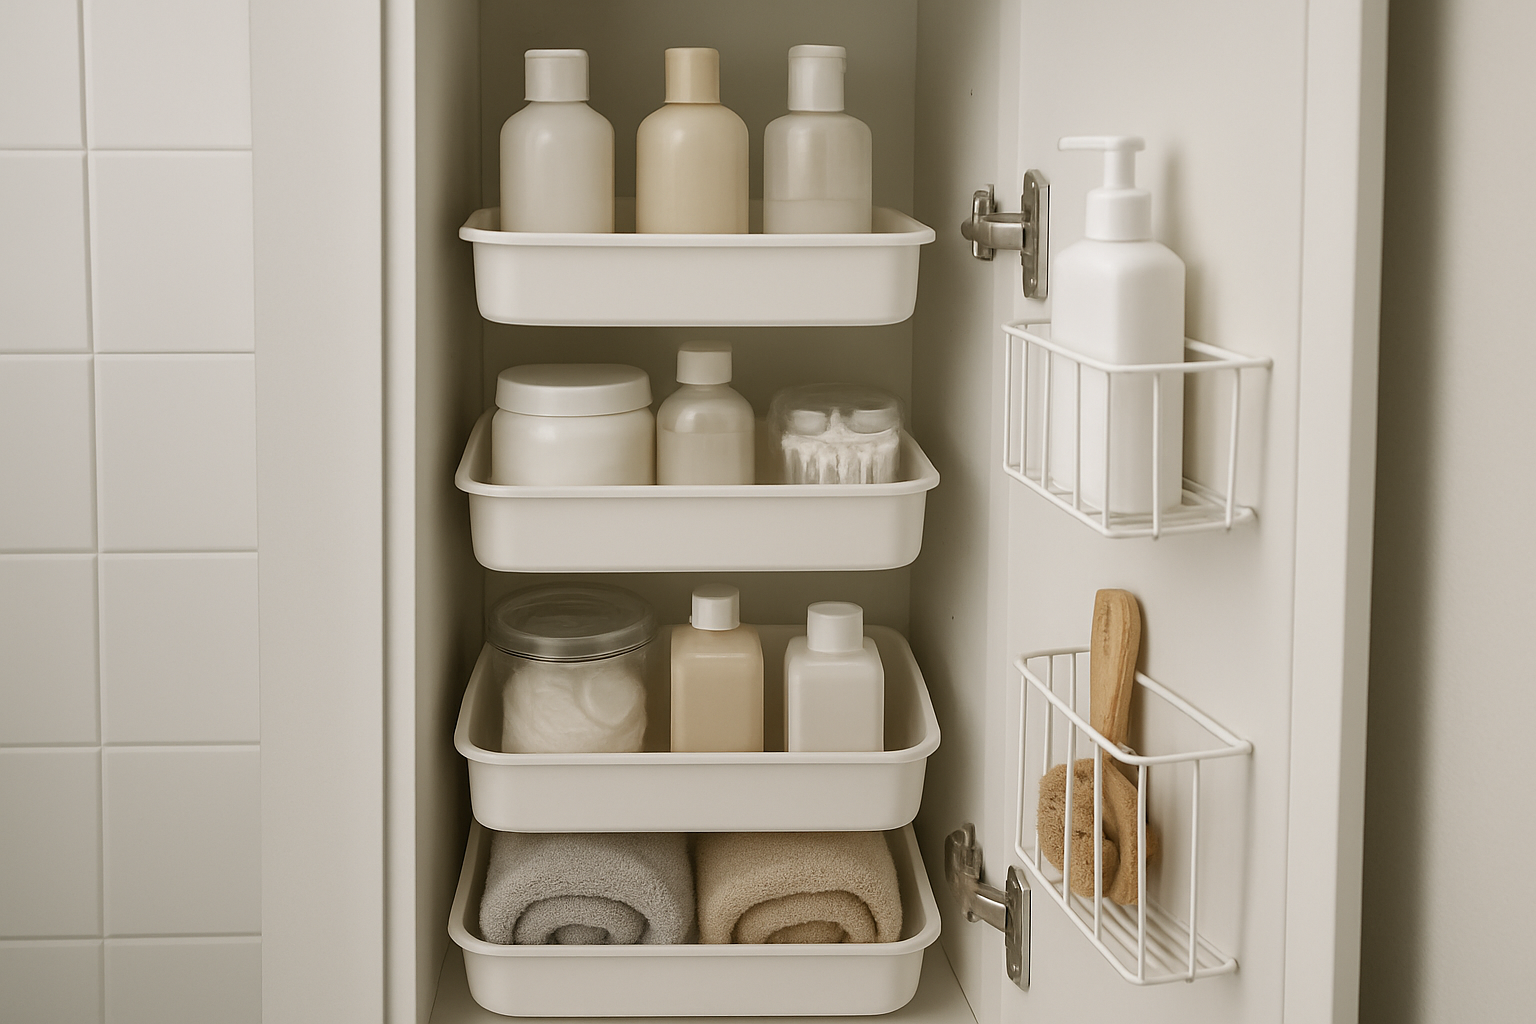
Small cabinet? Use vertical space and the door.
- Install an over-the-door caddy for small items
- Use slim magnetic strips for tweezers and nail clippers
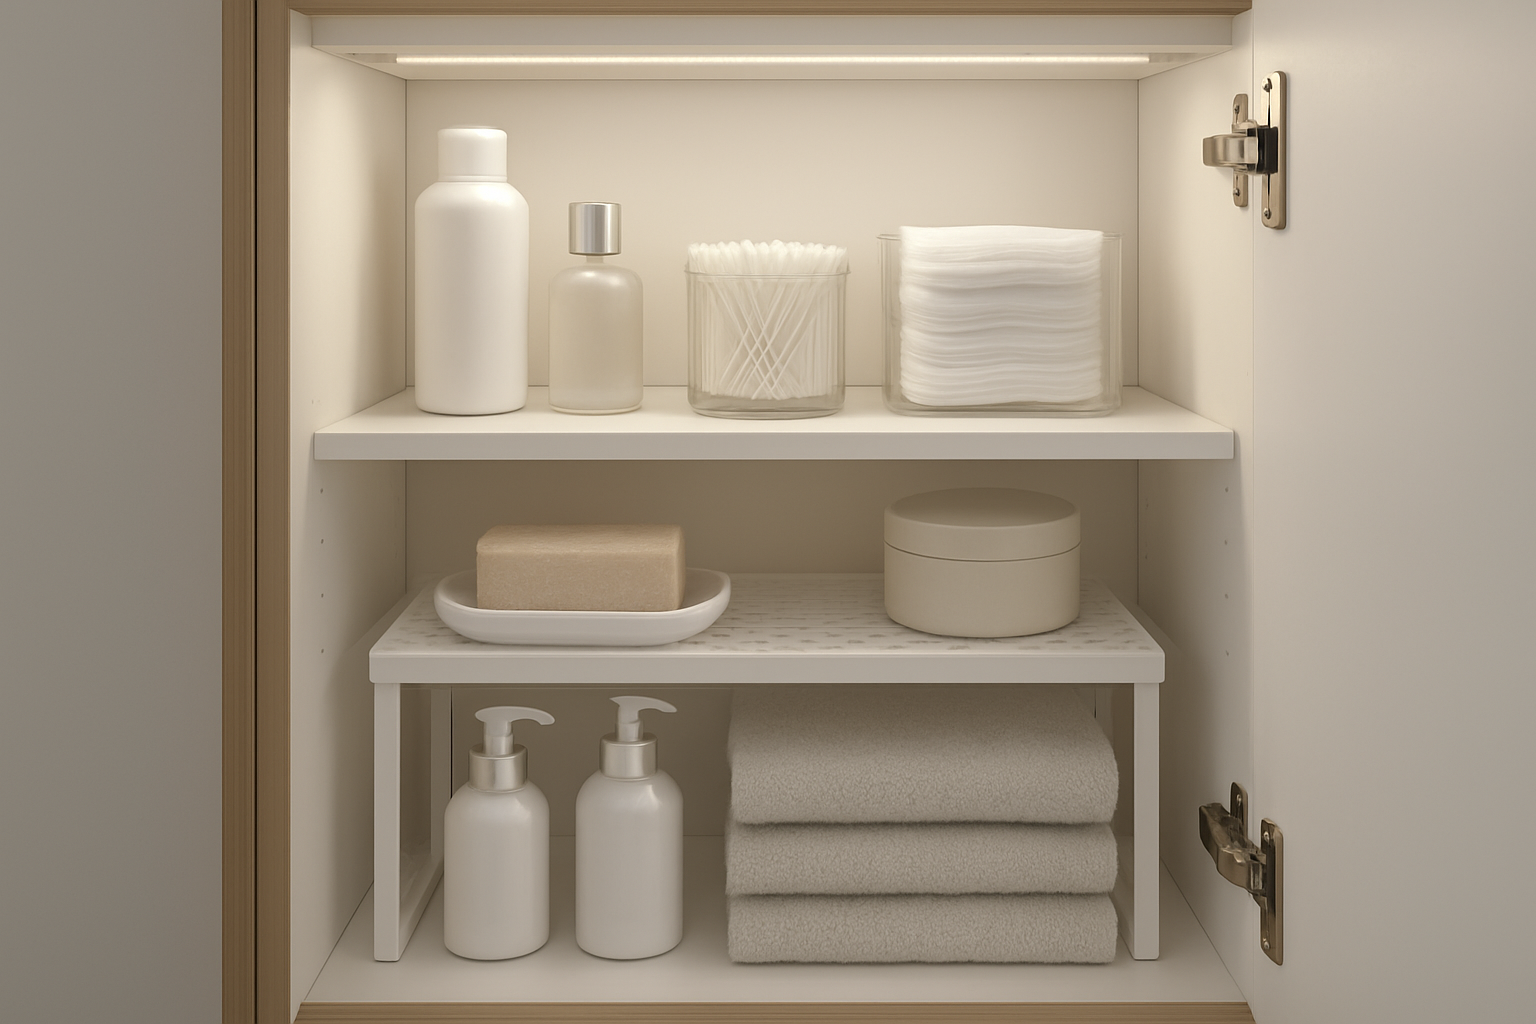
- Stack clear trays to create levels
Small-cabinet layout example:
- Top shelf: spare toothpaste tubes
- Middle shelf: daily skincare in a small tray
- Bottom: cleaning cloths and spare supplies
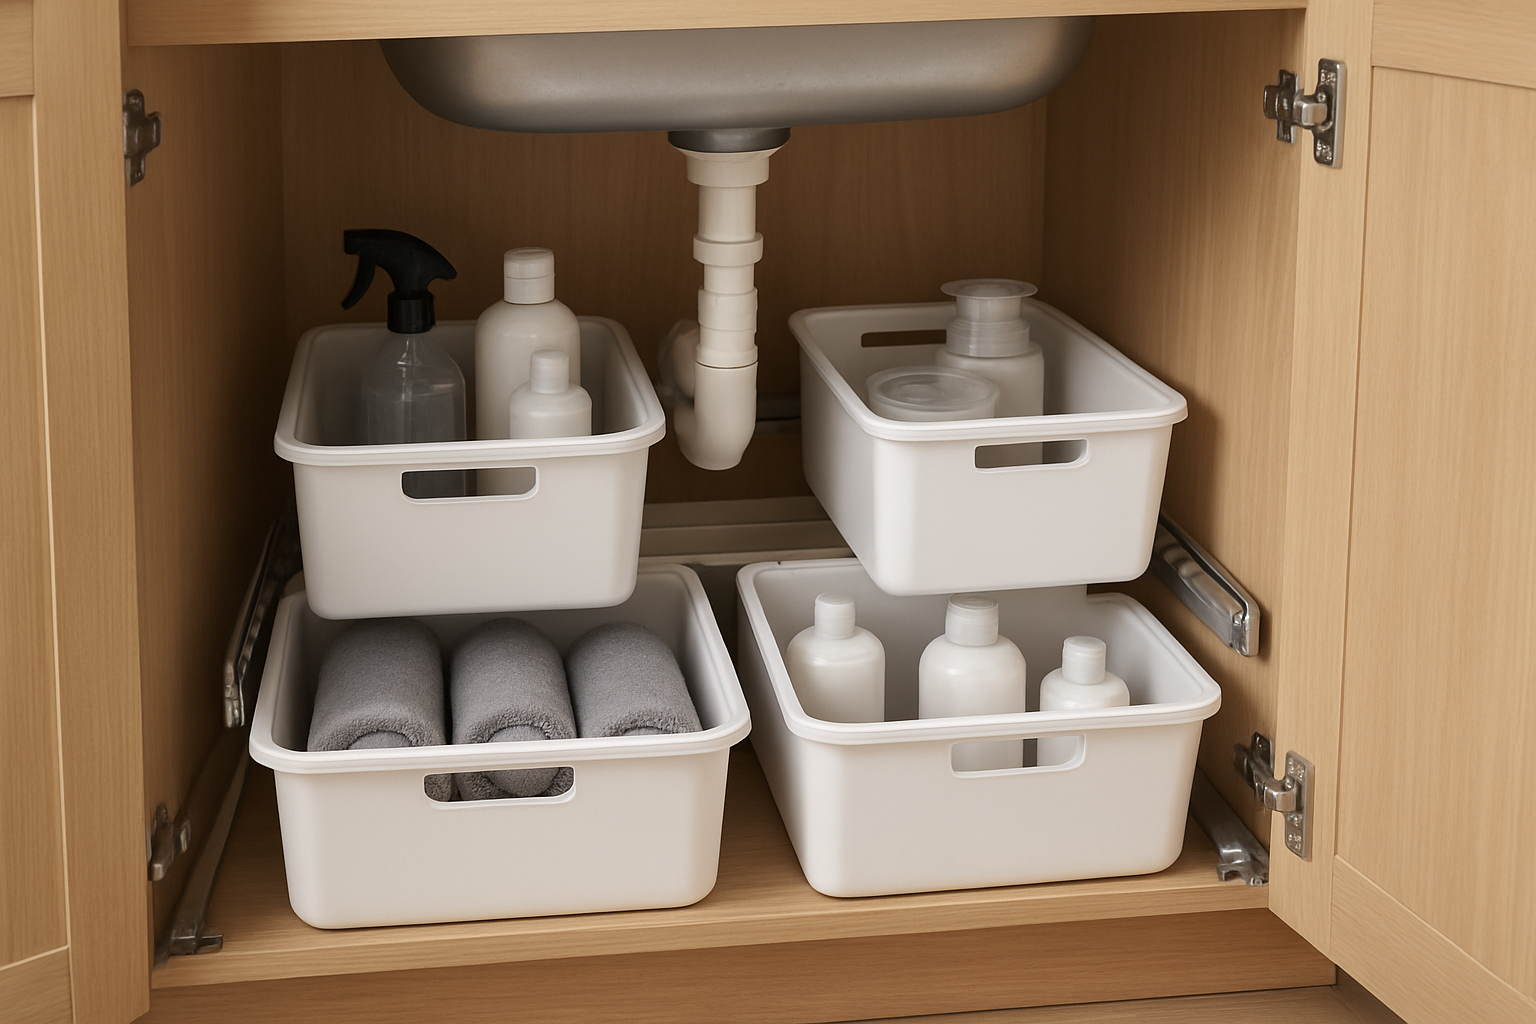
Organizing deep cabinets and under-sink areas
Under-sink spaces are often awkward. Pull-out bins work best.
- Install sliding baskets or a small drawer system
- Keep cleaning supplies together in a caddy
- Use turntables for bottles that need quick access
Table: under-sink organization ideas
| Solution | Cost estimate | Best for |
|---|---|---|
| Pull-out drawer system | $25 to $150 | Deep, heavy items |
| Lazy Susan turntable | $10 to $40 | Bottles, lotions |
| Stackable tilt-out bin | $20 to $60 | Small tools, hair ties |
Medicine cabinet specific tips
Safety first. Keep medications out of reach of children in a lockable container.
- Store prescriptions in original containers when possible
- Keep a small list of medications and dosages on the inside of the door
- Dispose of old meds at an authorized take-back site
Medicine cabinet layout:
- Top shelf: rarely used items
- Middle shelf: daily medications and first aid
- Door pocket: tweezers, small tools
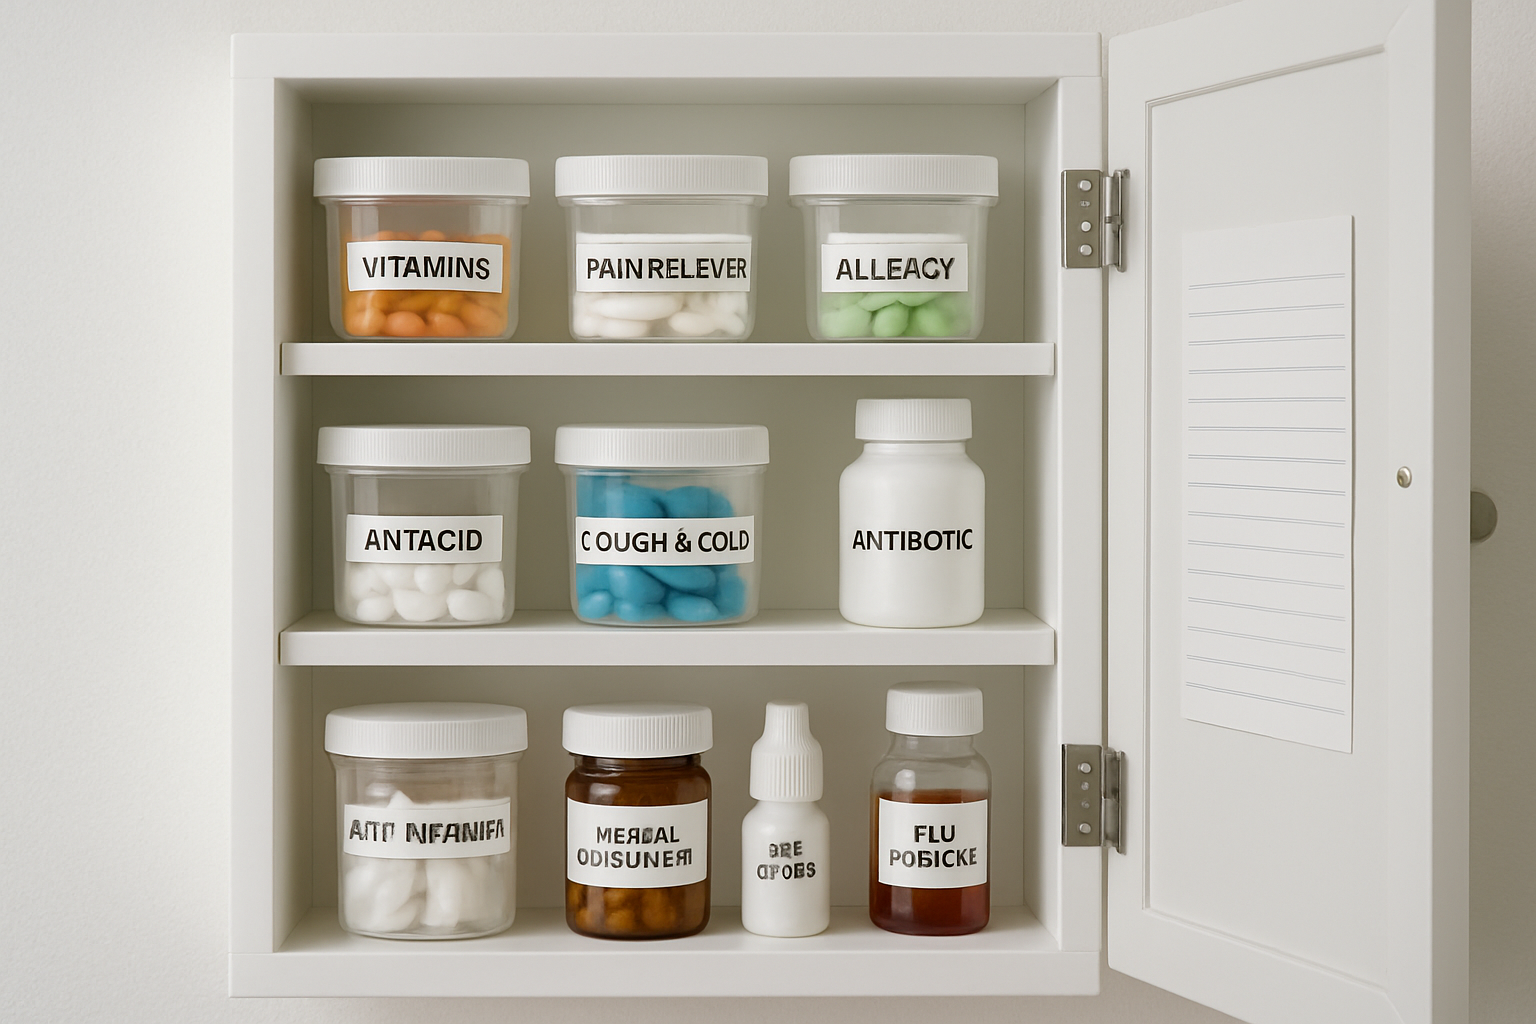
Labeling: simple and effective
Labeling cuts decision time. Use a small label maker or write on masking tape with a black pen.
Label ideas:
- “Morning” and “Night” for skincare trays
- “First Aid” on the medicine box
- “Extras” for backup items
Labels help other household members return items to the right spot.
A sample step-by-step process you can follow right now
- Remove everything and group by category
- Toss expired and empty items
- Wipe cabinet interior and shelves
- Measure shelf dimensions
- Select containers from the table above
- Create zones and place daily items at eye level
- Label containers and test the layout for a week
- Adjust based on daily flow

Data and insights: how organized cabinets help
- Time saved: People report cutting five to ten minutes from daily routines when essentials are easy to find.
- Product waste: Keeping track of expiry dates reduces wasted products by an estimated 15 to 30 percent in many homes.
In our experience, the largest gains come from decluttering first, then adding structure. Containers alone rarely fix clutter if duplicates remain.
Maintenance schedule (easy to follow)
| Task | Frequency | Time needed |
|---|---|---|
| Quick tidy and replace items | Weekly | 5 minutes |
| Check expiration dates | Every 3 months | 10 minutes |
| Deep clean inside cabinet | Every 6 months | 20 minutes |
| Re-evaluate layout and refill supplies | Annually | 30 minutes |
Set a phone reminder for the quarterly check. Small regular steps prevent future chaos.
Shopping list: what to buy first
- Clear small bins or trays
- One small label maker or labels
- One pull-out basket if depth is significant
- Moisture-resistant shelf liner
- Small caddy for cleaning supplies
Aim for neutral, durable items. Buying cheap, flimsy pieces often increases clutter because they break.
Common mistakes and how to avoid them
- Overfilling shelves. Leave a little breathing room.
- Storing everything in its original box. Remove bulky packaging.
- Ignoring the door. Door-mounted storage multiplies usable space.
Often people buy new containers without first decluttering. Declutter first. Then buy what fits the space.
Before and after metrics you can track
- Number of expired items discarded
- Time spent locating daily items before and after
- Number of duplicate products removed
Track these for a month to see real gains.
Final checklist before you call it done
- Daily items are within easy reach
- Heaviest items sit low
- Labels are clear and readable
- Medications are secure and dry
- Layout is tested for one week and adjusted as needed
A tidy cabinet is not a one-time project. Small habits keep it that way.
Small projects to take next
- Add a small shelf riser to increase surface area
- Install a motion LED light for dim mornings
- Create a small travel kit for quick grabs
Frequently Asked Questions
What is the easiest first step to organize a bathroom cabinet?
The easiest first step is to empty the cabinet and sort items into groups: daily, weekly, occasional, expired, and trash. This makes clutter visible and helps you decide what to keep.
How often should I clean and check my bathroom cabinet?
Do a quick tidy weekly, check expiration dates every three months, and perform a deep clean every six months. Small regular checks prevent buildup.
How can I store medications safely in a bathroom cabinet?
Keep medications in their original containers, store them in a dry, cool area of the cabinet away from steam, and use a lockable box if there are children in the home.
What containers work best for small bathroom items?
Clear acrylic trays or small divided bins work well. They keep items visible and grouped. Choose spill-proof bins for liquids.
How do I maximize space in a tiny bathroom cabinet?
Use vertical organizers, stackable trays, door-mounted pockets, and slim magnetic strips. Prioritize daily items and move infrequent items elsewhere.
Should I store cosmetics and medicines together?
No. Keep medicines in a dedicated, labeled container away from heat and moisture. Place cosmetics in separate trays to avoid cross-contamination.
How can I prevent mold or moisture damage inside the cabinet?
Use moisture-resistant liners, avoid placing wet items inside, and ensure ventilation. For wood cabinets, apply a sealant or keep sensitive items in plastic containers.
Can I use fabric bins in a bathroom cabinet?
Fabric bins look nice but can hold moisture and stain. Use them for dry, seldom-used items or pair them with a waterproof liner for added protection.
How many backup items should I keep?
Keep one backup for critical daily items, like toothpaste or shampoo. For specialty items, keep none or one based on how often you use them.
What is a simple labeling strategy for family bathrooms?
Label trays by function, such as “Morning”, “Night”, “First Aid”, and “Extras.” Use clear, short labels so everyone can return items to the right spot.