There’s a special joy in snipping fresh herbs from your garden, their vibrant aromas filling the air as you dream of cozy winter dishes infused with summer’s essence. Drying and storing herbs lets you capture that magic, extending their flavor into the colder months like a warm hug from your yellow bells shrub or perennials part sun. Air drying is the simplest, most budget-friendly way to preserve herbs, keeping their essential oils intact for robust taste, unlike quick fixes that fade like black mastic on a hardwood floor bathroom. This guide walks you through harvesting, drying, and storing herbs, with tips to ensure they shine in your white kitchen with black hardware, blended with gardening keywords like neem oil for spider mites and cordyline green for a lush vibe.
Why Dry Your Herbs?
Drying herbs isn’t just practical—it’s a way to savor your garden’s bounty year-round, like planting winter rye grass for a green spring. Air drying preserves flavor by retaining essential oils, unlike microwaves or ovens that cook herbs, dulling their zest, as damaging as do deer eat crocus to your blooms. Low-moisture herbs like rosemary, thyme, or oregano dry best, while high-moisture ones like basil or mint may need a dehydrator or freezing to avoid mold, like feng shui for bathroom colors balancing a space.
When to Harvest Herbs for Drying
Timing your harvest is key, like lawn mowing patterns for a pristine yard:
- Before Flowering: Snip herbs before they bloom for peak flavor, typically in late summer as growth slows, like cherokee purple tomato growing winding down.
- Mid-Morning: Cut after morning dew dries but before afternoon wilting, ensuring herbs are crisp, like flowers that start with s by a flowers by a pond.
- Partial Pruning: Never cut more than one-third of the plant, preserving its life like true 2×6 dimensions for a rough door opening for 30 door.
Tools and Materials Needed
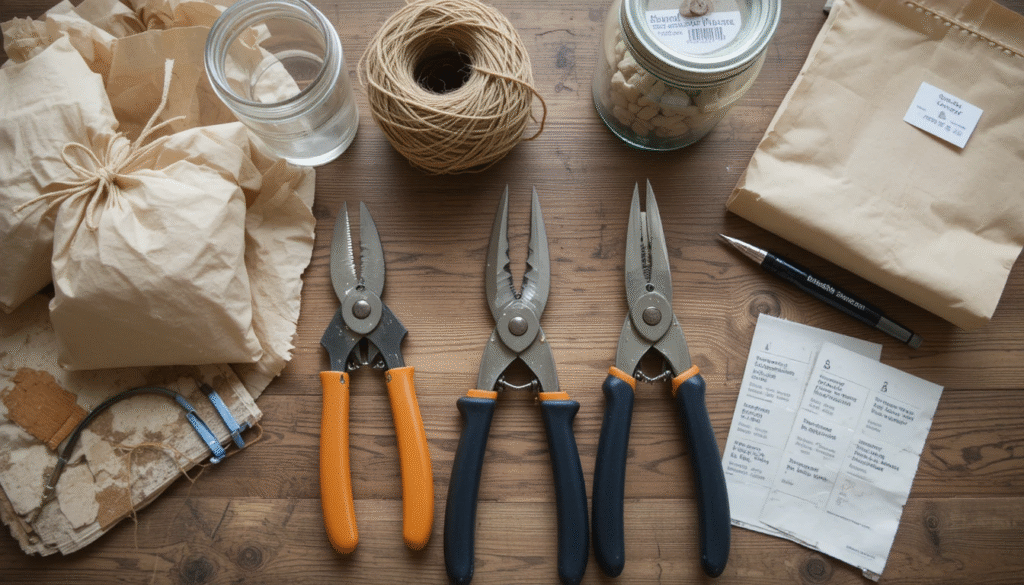
- Pruners or garden scissors
- String or rubber bands
- Paper bags (optional)
- Airtight containers (e.g., small canning jars)
- Paper towels
- Container labels
How to Dry Fresh Herbs
This process is beginner-friendly, taking 2-3 hours of active time and about two weeks to complete, like nurturing lima bean seedlings with patience.
1. Gather and Inspect
Snip herb branches in mid-morning, shaking gently to remove insects, like squirrel infestation prevention in an a frame log cabin. Rinse only if needed with cool water, patting dry with paper towels to avoid mold, as critical as septic safe cleaners for a clean system.
2. Prep the Stems
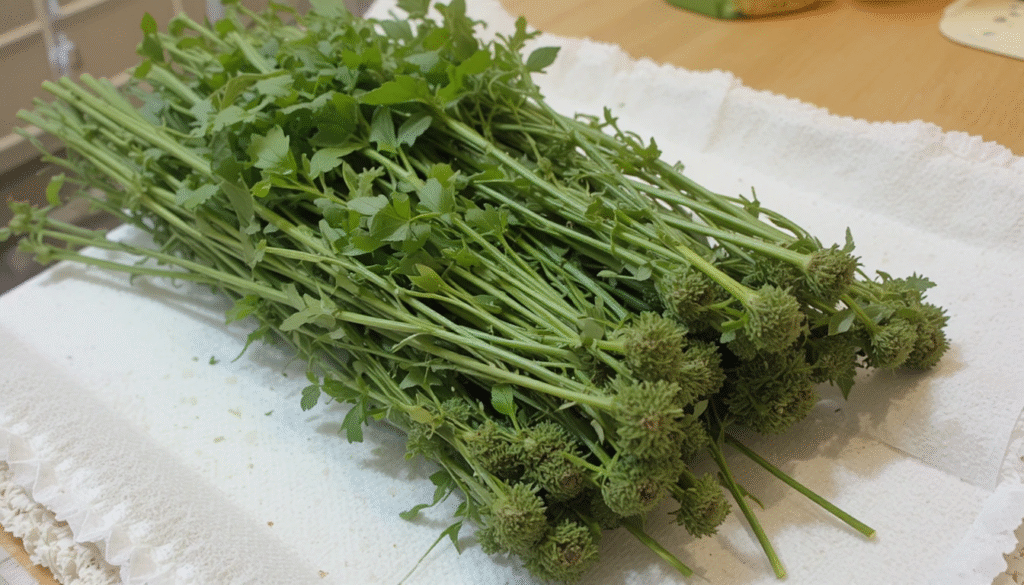
Remove lower leaves from the bottom inch of each stem, saving them for fresh use or separate drying. Discard yellowed or diseased leaves, like culling white bugs in soil from a pea gravel sandbox. This ensures only flavorful herbs make the cut, like how do you add nitrogen to soil for healthy growth.
3. Bundle for Drying
Tie 4-6 stems together with string or rubber bands, keeping bundles small for high-moisture herbs to prevent rot, like how to plant comfrey with care. Check ties as they dry, as herbs shrink, similar to adjusting shower valve height for precision.
4. Optional Paper Bag Method
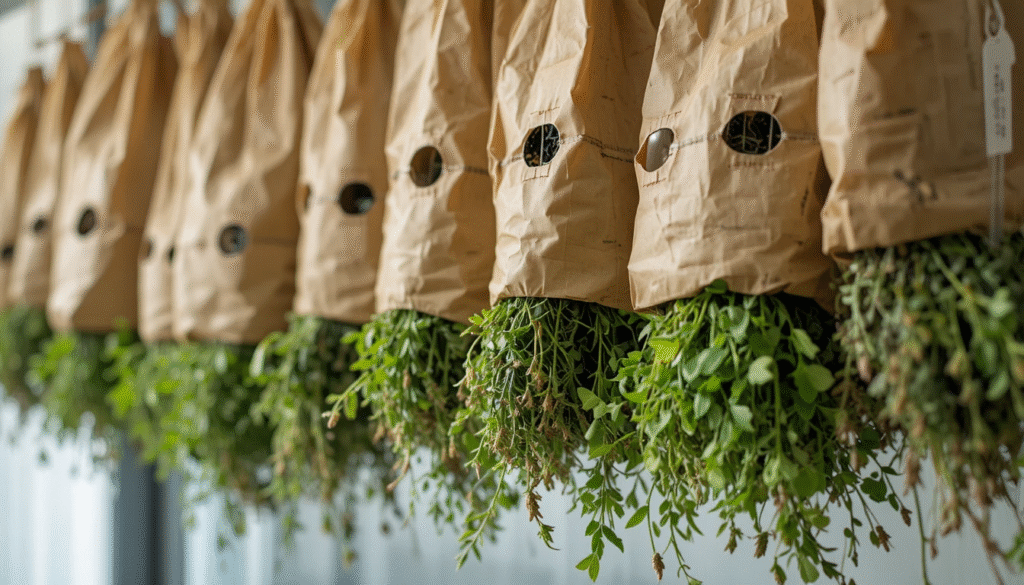
Place bundles upside down in a paper bag with holes for airflow, securing the top, like mowing lawn patterns for efficiency. This speeds drying and catches falling leaves, ideal for herbs like philo white princess or florida beauty philodendron needing extra protection.
5. Hang to Dry
Hang bundles in a warm, airy, shaded spot, like a sage green bathroom cabinets nook away from sunlight. Air drying takes about two weeks, preserving oils for flavor, as gentle as neem oil on spider mites for hanging orchid cactus.
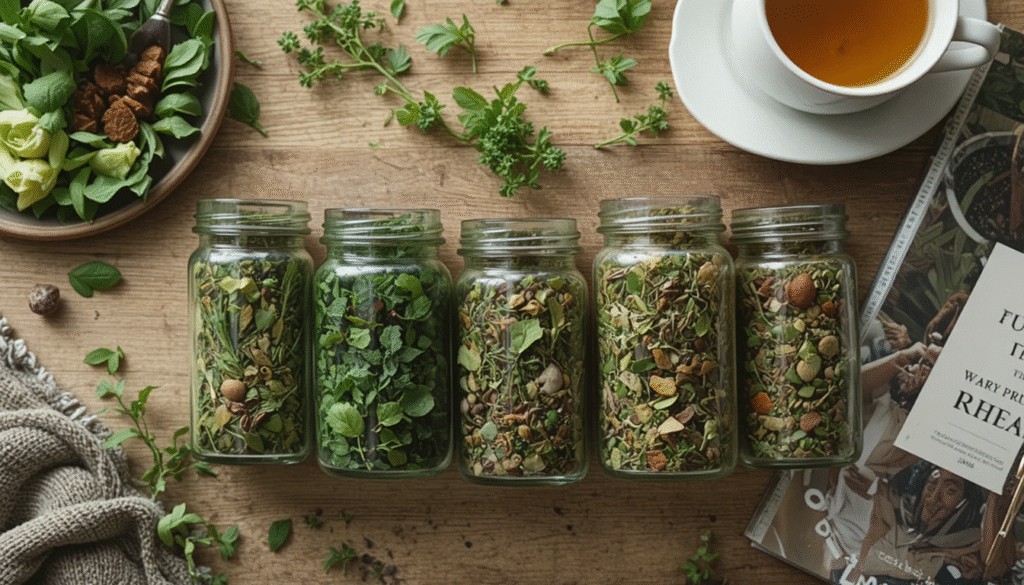
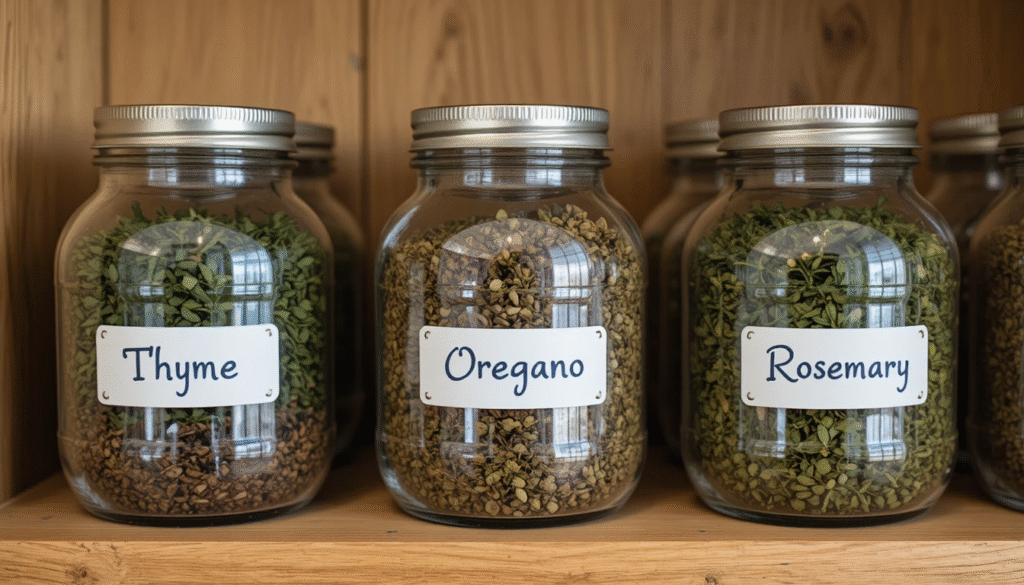
How to Store Dried Herbs
Once dried, store herbs to maintain their potency, like what does potassium do for lawns for lasting green:
- Discard Moldy Herbs: Toss any with mold to prevent spread, like will bleach kill spiders for quick cleanup.
- Use Airtight Containers: Store in small canning jars or zippered bags, keeping leaves whole for better flavor, like anatomy of a couch preserving structure.
- Label and Date: Mark containers with herb names and dates, ensuring you use them within a year, like how to dispose of a microwave for organization.
- Store Properly: Keep in a cool, dark place, like amber jars blocking light, as protective as chrome or brushed nickel finishes.
Tips for Using Dried Herbs
- Crumble leaves just before cooking, using 1 teaspoon dried for 1 tablespoon fresh, like how high should chandelier be above table for balance.
- Check color—fading herbs lose flavor, like peach leaves turning yellow on a ficus audry.
- Pair with garden plants like monstera standleyana variegated or aglaonema tricolor pictum for a cohesive home aesthetic.
Conclusion
Drying and storing garden herbs is a rewarding way to preserve summer’s flavors, bringing warmth to winter meals like white kitchen with black hardware adds elegance. By harvesting at the right time, air drying carefully, and storing in airtight containers, you’ll enjoy robust herbs for up to a year. Pair this with plants good around pools like cordyline green or yellow bells shrub, and your home will feel as vibrant as a flowers by a pond scene, with diatomaceous earth to kill mites keeping pests at bay. Embrace this simple ritual, and savor your garden’s gifts all year long.